If you are one of the lucky people to receive a Field Grey Apron Kit in your stocking this Christmas here’s our step-by step instructions with pictures. Please send all your finished apron pictures to us @fieldgreystudio we look forward to seeing your handiwork!

1. Cut the apron and the apron top facing.
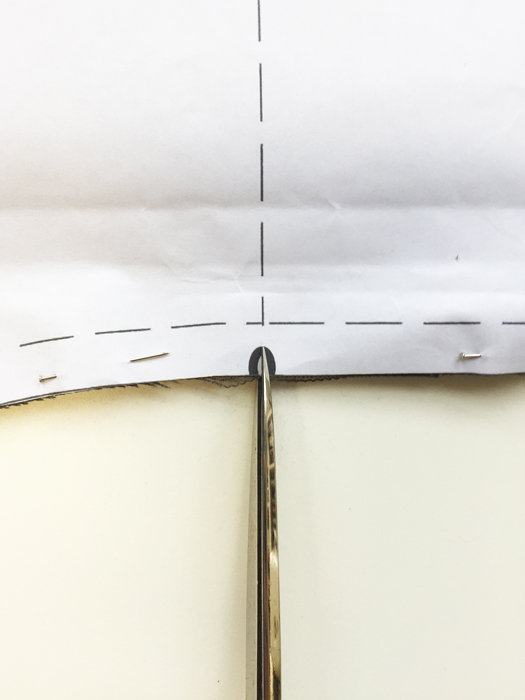
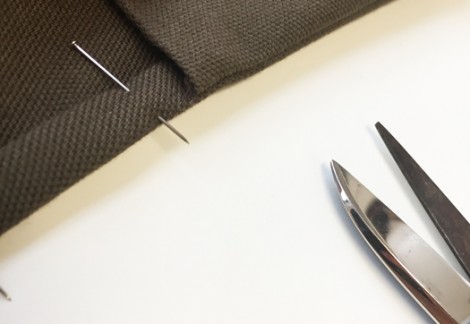
2. Cut all notches on the fabric as marked on the pattern taking care to not cut more than 0.5cm deep into the fabric.
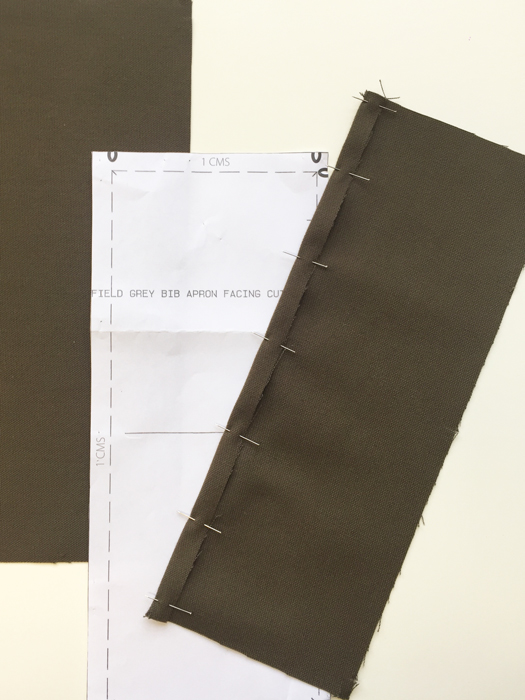
3. Turn up and press the lower edge of the facing by 1cm.
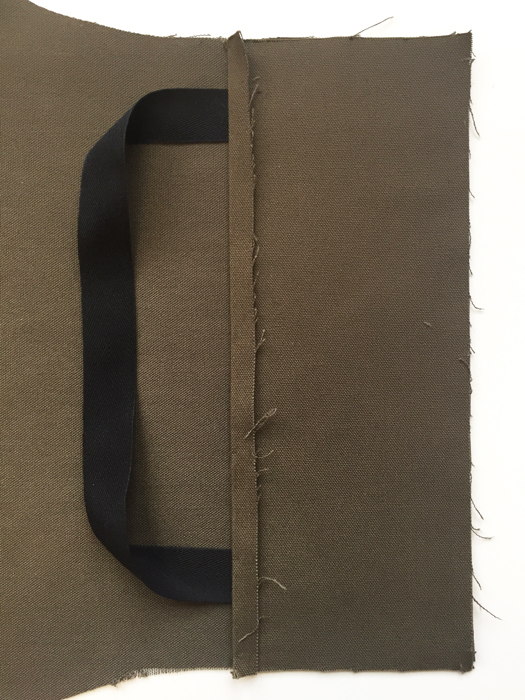
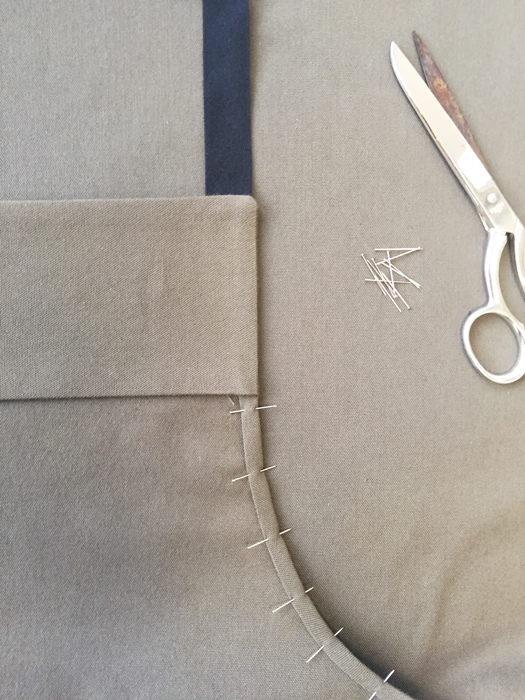
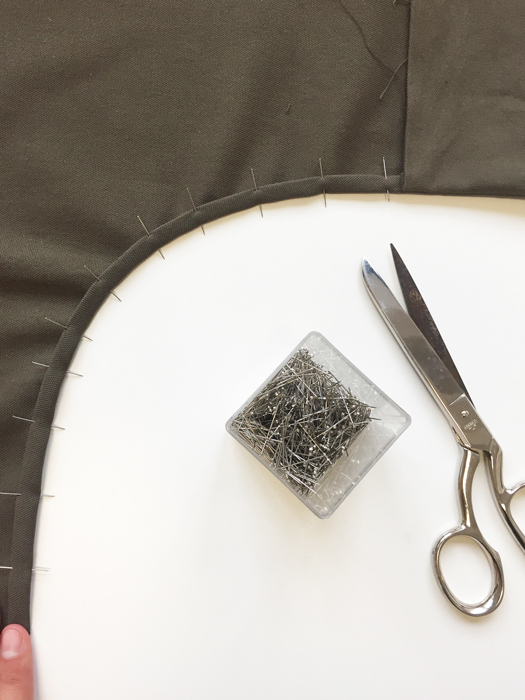
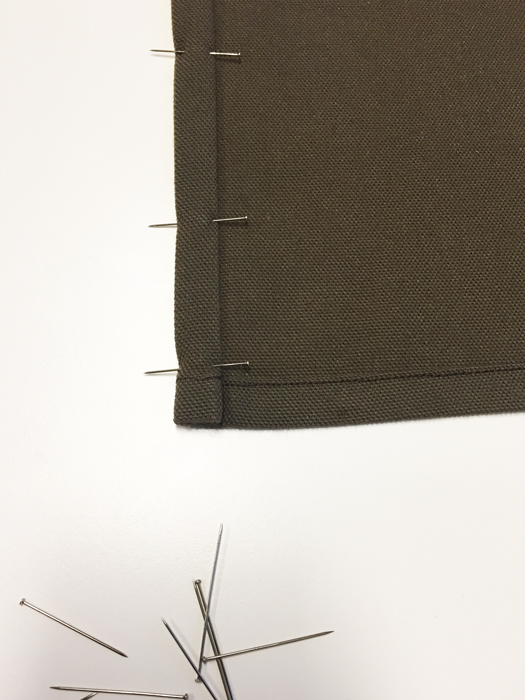
4. Position each end of the neck herringbone tape at the top edge of the apron as marked on the pattern. The neck tape is to be sandwiched between the apron and the facing. (Ensure the tape is not twisted)
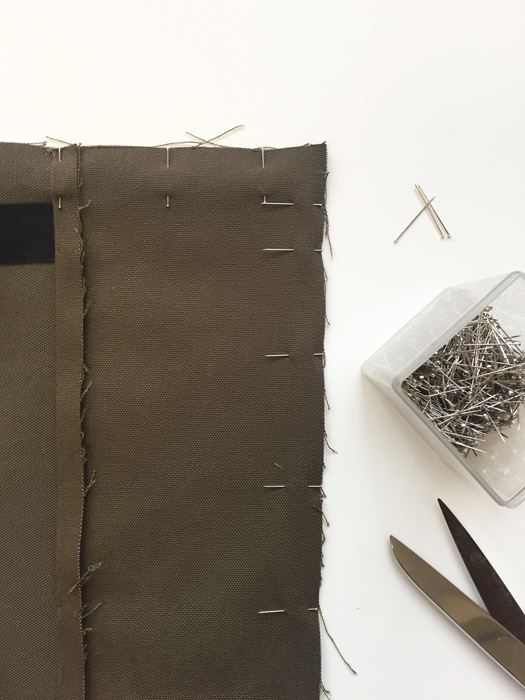
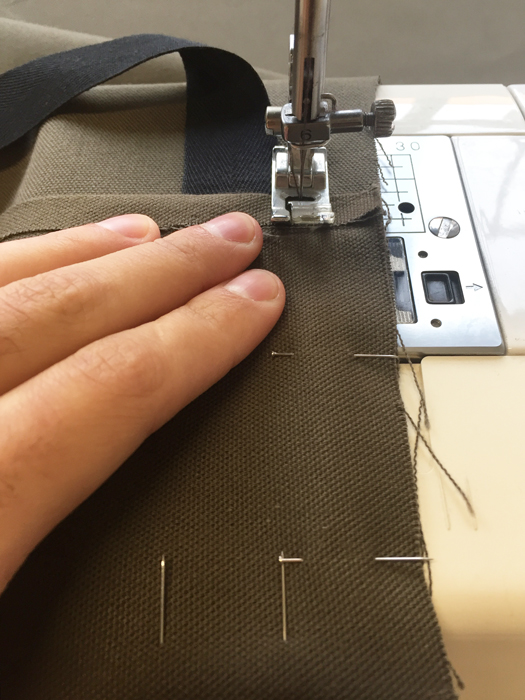
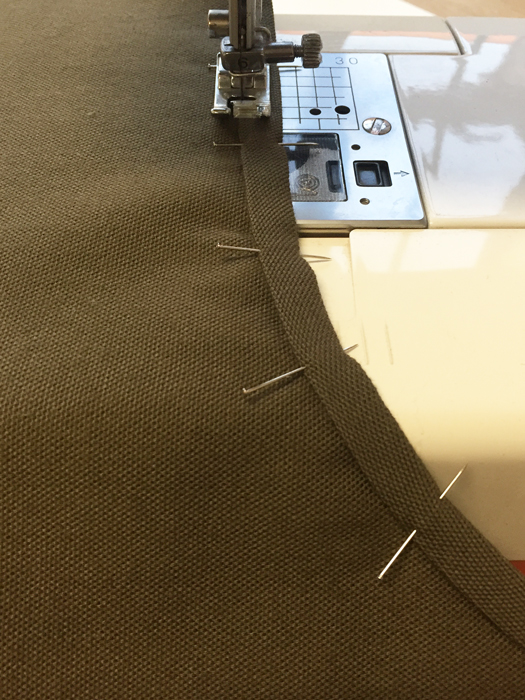
5. With the right sides together and the facing hem pressed up 1cm, lay the top edge of the facing to the top edge of the apron and sew around the facing edge, 2cm at the sides and 0.5cm at the top edge as marked on pattern.
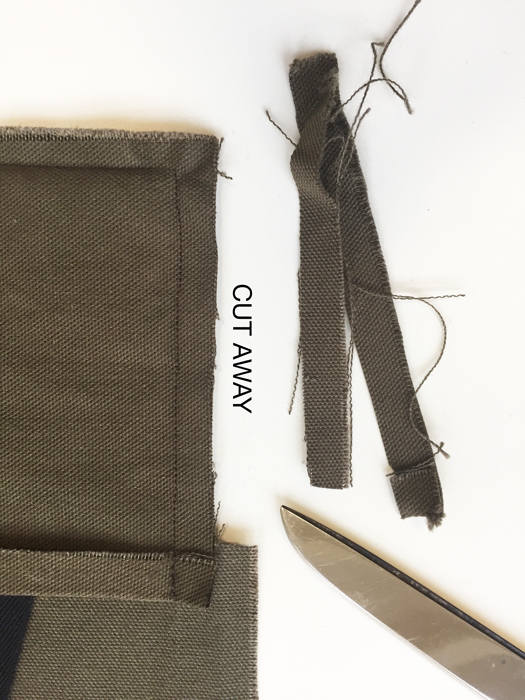
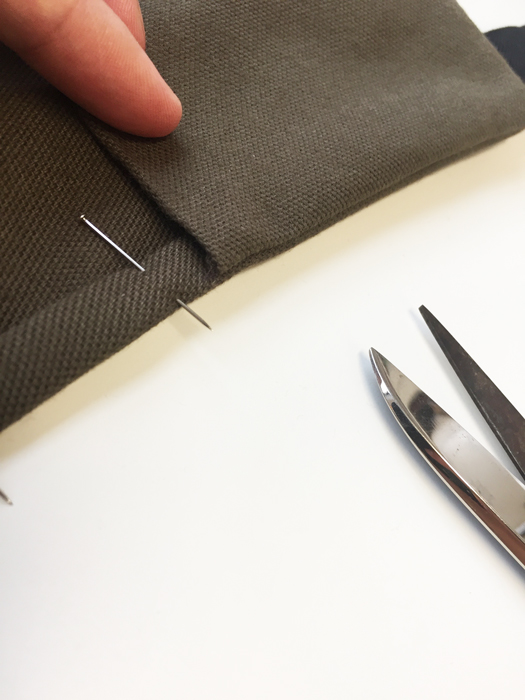
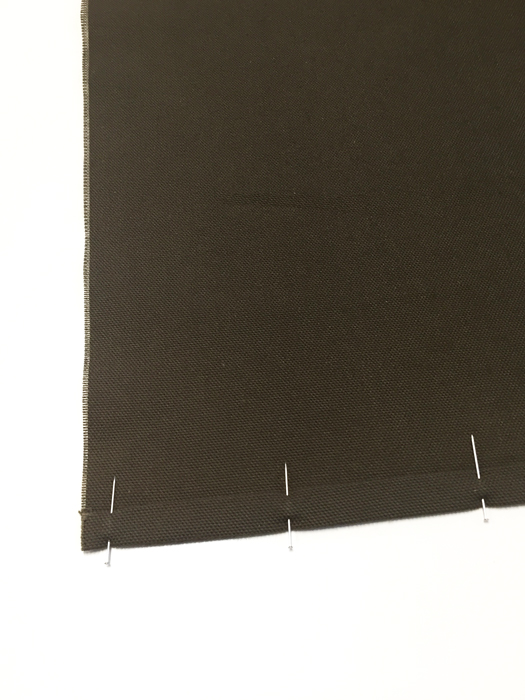
6. Turn out the facing and press the edges neatly
7. Topstitch the pressed up lower facing edge to the apron.
8. Turn the armhole edges 1cm twice and press.
9. Then starting at the side of the apron, topstitch around the armhole seam edge and continue around the facing edges and around the other armhole seam edge and finish at the other side of the apron.
10. Turn up the hem edge 1cm twice, press into position and topstitch along the hem edge.
11. Turn the apron side seam edges 1cm twice, press into position and then topstitch along the seam edge.
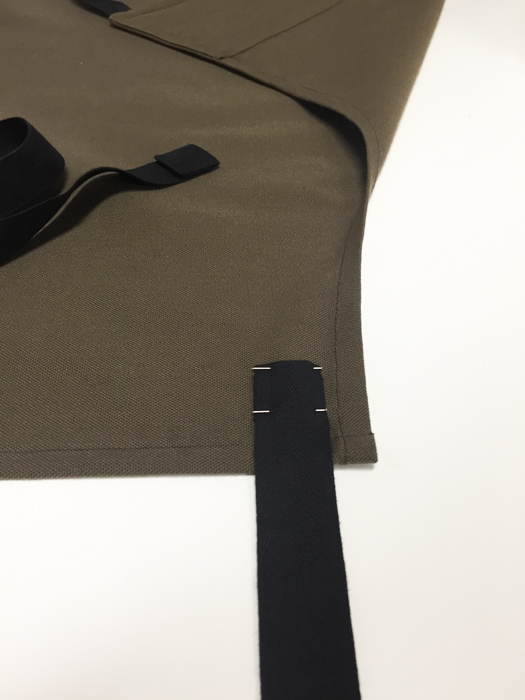
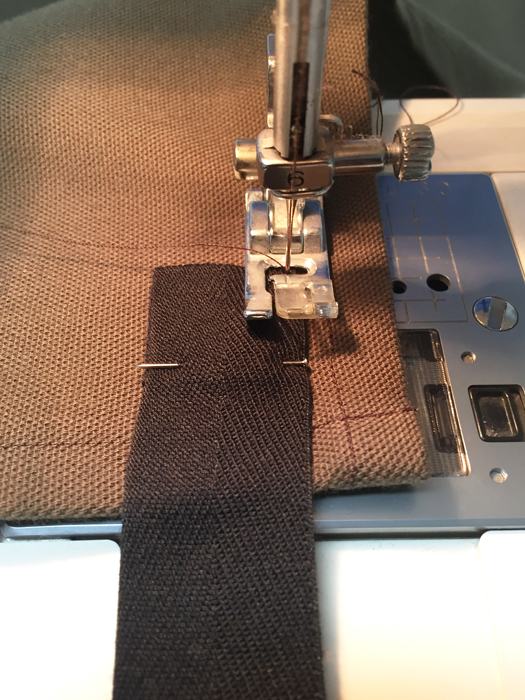
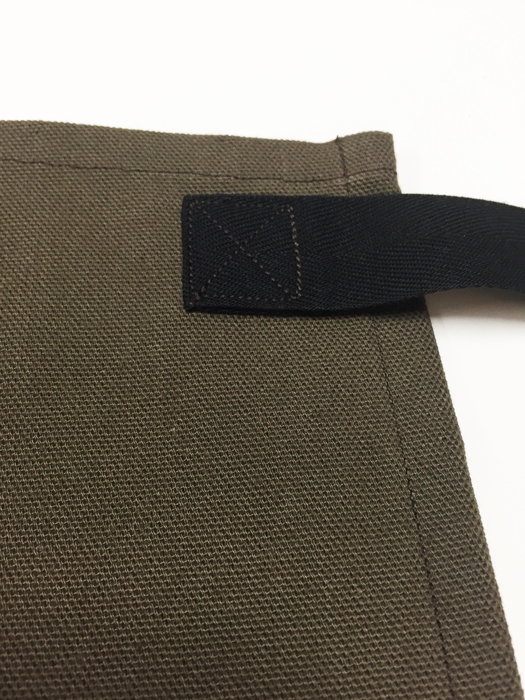
12. Fold one end only of each of the waist ties by 1cm then place the 1cm fold to the apron (in the position marked on the pattern) then topstitch the waist tie to the apron.
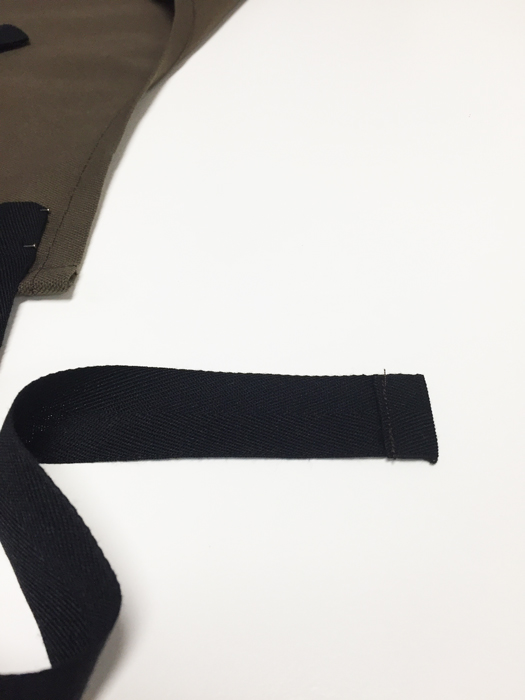
13. Fold the loose end of each waist tie twice by 0.5cm then topstitch.